Friday 18 September 2015

Tiles On + the rear porch and courtyard

Now that the new roof structure is in place it has been time to get cleaning all those old tiles...


As the old utility roof was dressed in pan tiles though, and we were planning to marry the new roof up with the others (all dressed in triple roman tiles), we were missing quite a few. So, after making some calculations, we decided that it would be cheaper to lift some from the roof of the barns (during their development they are going to require pan tiles and not triple roman) and use these rather than source some from a reclamation yard. It also feels quite nice being able to borrow from one bit of the site and feed another.

It was good to get a different perspective of the barns this way too:


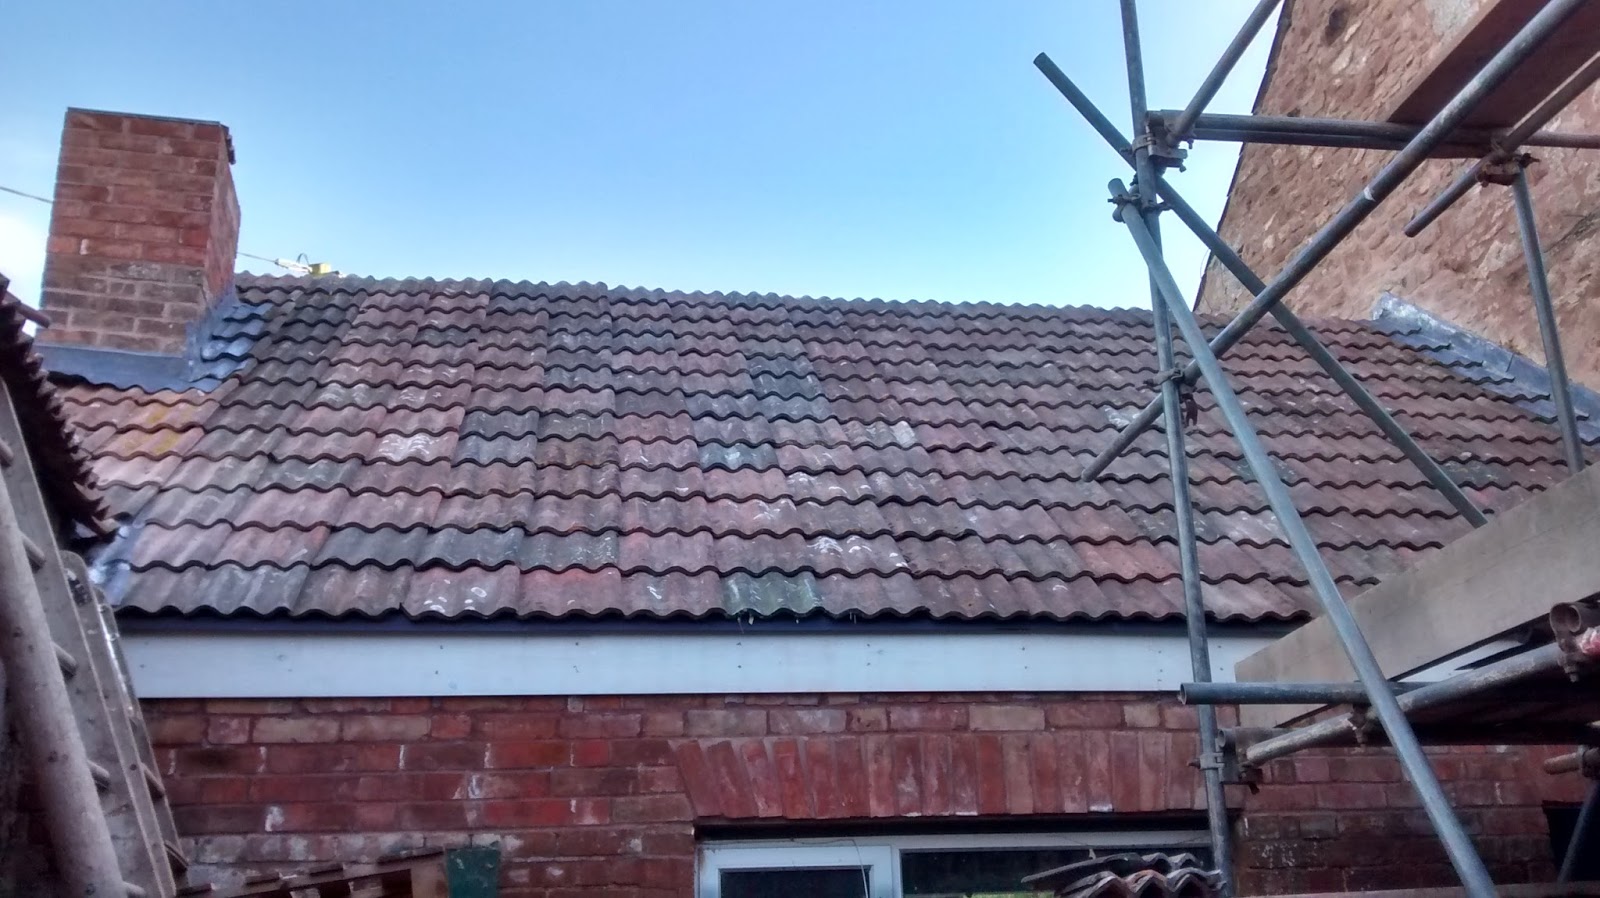
These were then all cleaned and put into place:


and once all up - they look great!


Next it was painting the fascia boards - we're really enjoying the teal-y/grey that we've found:


The back door of the new kitchen and the porch area have been left as a bit of a 'who's responsibility is this?' sort of job for a while now:


As it's been the meeting point of both building teams and their respective roof lines it's been a little tricky to work out who should claim it... Steve won the coin toss though - and so began work on fitting it all together:

We started by taking the oil tank out:


Then the old backdoor frame was readjusted for it's new home:


I think Mike approves (or he's just getting fed up with my camera...?)


And after the wall of the plant room had been repointed
- the courtyard is now looking pretty neat and tidy:

Friday 11 September 2015

On with a NEW ROOF!

Now that the walls have gone up it's time for the new roof of the kitchen...

Steph has been using the space in the barns to chip away at the new timbers:


It's great to see the space being used and to experience the trusses up close - 
some very fine craftsmanship indeed:


With the help of the genie lift the end gable goes up:


And we can start getting a sense of the whole space now:


The trusses go up and WOW!


Mike is looking pretty impressed!


The gable gets filled in from the back and the chimney built up to meet the ridge:


Then the battons go in:


The felt goes on:


The space blanket over the window voids:


With the windows cut in when they arrive:


And although we would like to have the scaffolding down by now - it has been good to get another shot from above:


Here's a quick walk through from the dining space into the new kitchen:


Tuesday 8 September 2015

Out with the old and in with the new (again!)

Patrick's guys have been hard at it this past month, sorting out the new roof in the oldest part of the house. In between intermittent showers and down pours, a new set of scaffolding has gone up:


Which means more exploring of the house from new angles!


Note the triangular piece of rubber to right of Mike above... instead of flashing this is the matting used for sleeping cows! It's not done the roof too much harm these past 30 odd years, but it's not done it that much good either!?
So, off with the matting and surrounding tiles:


And on with the new lead, window, valley and surround:


The front part of the roof comes off:


Before felt, batton and a new window opening go on:


It's going to make a great bathroom inside...once insulated and plastered of course:


A last look before all the old timbers come out:


And here's a view of the shiny new ones - oooh!


Whilst taking the roof off and addressing the old plaster work, we found that a window that had been put in previously hadn't been properly fitted. Here it is from the outside:


And inside - it spanned over two floors - strange! 
So, we got the hole filled in and made an opening to match the other:


They now look they were always meant to be:


A few more tiles to go on...


Then that's the roof done!


Tuesday 1 September 2015

Down with the Press!

It's been on the cards for a while now, but with things progressing in the kitchen and the fact there was a genie lift on site, we decided it was time to take the cider press down...

Mike got to work removing the screws and main mechanism:


Then Steve and Steph brought the lift down to take off the load bearing of the oak:


After a few initial attempts knocking the steels and repositoning the arms:


It was decided that the safest way was to support the oak with a temporary strap:


This was much stronger and allowed the oak to slide down the steels with more ease:


An extra push:


 Unscrewing the strap support: 


And that's how you take down a chunk of cider press!


Now it's down we have a bit of work to do to turn in to a kitchen island, but the bulk of it is there now so another job (almost) done!