Showing posts with label stone. Show all posts

Friday, 26 February 2016

Transforming The Old Cider Barn

Having earmarked the old Cider Barn as our office for the business, we made an agreement with the builders to both batton, insulate, plaster and lay a new floor. So, in advance of their arrival it was a case of clearing out the room. Having taken the press down last year, we were left with the large wooden blocks, still in the steels, so after a bit of wriggle, Mike, Martin and Rick moved the blocks out into the garage:


We were of course going to save everything and find some future use for it all, including the old tray..

Once the big items were removed, I got in and had a good rummage with the remaining. There were lots of treasures to be found (which I have since squirreled away into the chicken shed):


I had a good sweep out and left the place tidy ready for Sully to come in and batton the room out for plasterboard:


We decided to leave the gable end as an exposed stone wall, so doubled up on insulation in the roof and floor:


The walls were boarded out and a new window put in
 (the old one came dislodged in a recent storm and was only single glazed):


And we had already run pipes and electrics into the room, which then fed under the drive to connect to the chicken shed at a later date:


The walls and ceiling got a coat of plaster:


We retained some of the old fixings:

The flooring was laid (a gift from Patrick after he was left with excess from an old job):
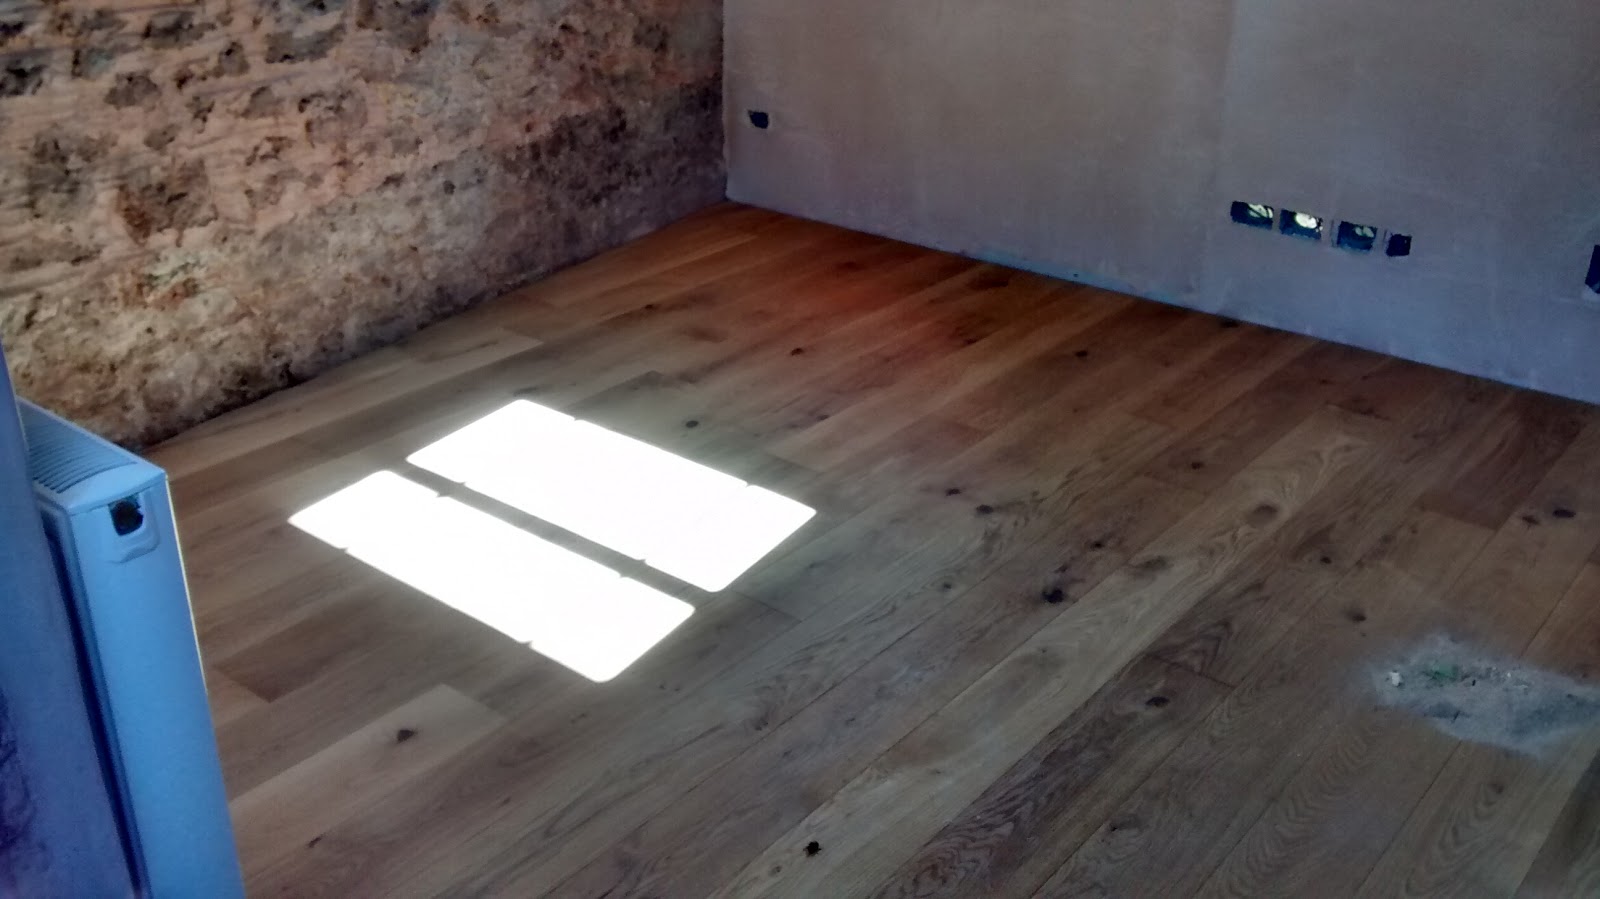

And we really liked the way that the old and new worked together throughout the room:


The attention to detail around the old step is brilliant:


And the new door

 (modeled on both the old stable door and those over in the barns)


- is just fab!


Now all we need to do is paint it, connect the electrics and we will have a fully functioning office!

Wednesday, 5 August 2015

Off with the roof, down with the wall, up with the floor...

There's been loads happening with the kitchen recently. Now that the opening is all secure from the old chimney - things have really started to progress with the new part. 

It looks a little bit scary to begin with:


especially when viewed from above - eeeek! proper destruction:


But before long there are foundations going in:


Flooring laid:


A wall emerging:


Stone cladding on the surface:


And all the openings being made good:


It's great seeing the place come back together again! The oak should be arriving for the new roof trusses next week so I will update again when there has been a bit more progress there.

Thursday, 18 June 2015

Creating the Kitchen

The guys have been hard at work making good of the gable end, now that the chimney is down. The speed at which it has been happening has been quite astonishing too! After only two days we went from oil tarred stonework to this:


The bedding in looks great:


And if you hadn't known there'd been a chimney there 
I don't think you could tell now by looking!


The steels are in to support the weight of the wall:


And the block work has gone in to stabilise the new roof:


The tiles from the old utility roof have come down:


And the opening from the inside looks fantastic:


They've also been hard at it digging up the floor ready for insulation and heating. We weren't too sure what there would be under the suspect lino, but there were some fantastic flagstones waiting for us:


They need a bit of a clean up but we think they will look just great in the new conservatory 
(in a few years time....)


The salvage yard is filling up quite nicely now:


And it's great to see mother nature still making her mark in amongst all the chaos too:

Monday, 6 April 2015

Breaking On Through

One of the things we had talked about doing with the house was creating an opening from the courtyard wall at the back into the walled/kitchen garden. As the new kitchen will open up into the courtyard it made sense to have this connection. This wasn't a necessity of course and just something we had put onto our ever growing 'to do' list. But, after a lengthy discussion with both the electricity board and our pump engineer it became more urgent as we needed to get some pipe work directed through the wall. 

So, we started off by marking out the position of the 'hole':


I started to remove a few of the first stones with a pick axe and crowbar: 


After struggling with the digging out of a trench (we had no shovel) Mike came back to the wall and started removing a few of the larger stones:


It soon became obvious this was a one man job, so I went back up to the room we had been working on before and took the remaining plaster off the future ensuite walls:


It meant I had a good view of Mike working his way through the wall... 

The lump hammer came out, and some makeshift props:


 Then we were through! Yipee!: 


The place is starting to look like a proper building site now:


Some useful stones for future projects:


 And perhaps a lintel would be good to save the rest of the wall from tippling in!


An impressive start though - we should be able to get going with the rest of the trench now