Showing posts with label remodelling. Show all posts

Sunday, 1 May 2016

Main Bathroom Remodel

We are still amazed that a house this size never really had a main bathroom. The one that did exist was an uncomfortable layout of toilet in its own closet and a bath and basin in a separate but adjoining room down a small corridor. As we looked at how best to locate one, the only logical place (due to waste and drainage options) is where this two room bathroom configuration was. To make it work better though, we decided to knock through into the bedroom next door. One of the main reasons for this was the fireplace:


It was completely hidden when we came to view the place but a nice surprise as we went round finding what was here. It seemed such a shame to leave it in a bedroom on its own, so having the opportunity to make it a feature of the main house made total sense. We knew that by knocking through it would make this room HUGE! But, it felt like a house this size could take it, so off we went at knocking through the old partition wall....


Taking down lath makes a right old mess (but does provide plenty of future firewood):


Once cleared out, it gives a real sense of how the room would fit together:


So then we got on to re-configuring the ceiling...

 Another messy job but once free of debris, Mike got on to constructing the new joists:


A view from above as I hammered in the nails on the joist hangers:


The old water tank that was up in the loft - we had considered taking it down, but after draining it and trying to lift it (impossible) we just decided to leave it in place...


Once the joists were in place it was up with the plasterboard:


And as Mike kept hitting his head on the old door frame, we opened that up to put in a taller one:


Underneath the old opening was a even older door frame. It must have been in place when this bit of the house was a barn. Not wanting to get rid of it, we relocated it to the opening of the old airing cupboard, so that it could act as a frame for some new (reclaimed ceiling joist) shelving:


Once the walls and ceiling were covered with plasterboard, we got the plasters in to coat the room: 


A few weeks drying time gave us a chance to choose some colours. And as we loved the tiles of the old fireplace, we decided to theme the room around this. So blue and orange were the order of the day, with Chinoise on the walls:


And a Wapping Orange tile for the shower wall:


Mike rightly looked impressed when the tiling was all done:


And next we got onto sanding the floor... 

With a very reasonable hire from a local company, we had a
floorsander and edger for 24hrs. It made good work of taking back the old lacquer:


and was really good fun to use! The end result was really impressive:


And as we had to replace some of the floorboards with new, we added some wood dye and varnish to help blend them in:


After a few coats they were starting to blend:


And after a final sand and coat of oil - you couldn't really tell the difference:


The room was really starting to come together, with the plumbers coming in to fit the bath, sink and toilet and shower unit:


The last piece of furniture for the room was a towel rail. We'd been having a real game trying to find one big enough, and made appropriately for the heating circuit we were connecting it to. So, Mike said he'd like to make his own! 

Very impressed by his bravery, he had a lesson from Richard on how best to solder the joints:


The finished article looked really impressive and once tested for pressure it was up there at 6 bar!

- well done Mike!


It's going to look lovely in place and really tie the whole room together:


So, as a final treat for getting the first room in the house complete (after a year) 
we spied an interesting old cabinet in a local junk shop and thought it would fit just perfect in this new space, so we bought it:


Can you guess what it used to be?

All that needs to happen now in this room is to hang the door and at some point put some shelves up, but everything in here is good to go! It's really exciting to finally tick a room off!! And once we get around to testing the water, we might just be able to have that long awaited bath - ahhhh, bliss!

Monday, 31 August 2015

Bank Holiday Breakdown

As DIY is synonymous with Bank Holiday's we thought it rather appropriate to set upon a major task today. Right from the outset, there has been a secondary set of stairs in the property that have never made sense.... We think this is due to the house having been added to over the years and that these had perhaps connected together the old and new at one time? We know that they had never been used by the previous owners, and when looking at how to incorporate these into a new format, we decided that they had to go. 

By removing them, we were enabling a new corridor to be created, and after establishing an additional two openings (from the plant room and the main living room), we were now connecting the outbuildings of the property with the rooms in the main house. So, context to one side and with crowbars, sledgehammers and rubble bags at the ready it was operation stair removal...

The banister came away quite easily:


But it looked a little suspect at the top by the floor above, so we found a spare acro prop on site and used it to support as we took at the main case:


Once the stairs came out, we made a start on the wall to the old dairy, so that we would open it up for the new utility space:


It looked amazing when we'd finished - a fabulous space:


We even considered leaving it and having it as a HUGE open corridor; but the intention is to introduce a new stud wall (marked out by the yellow line below), which still maintains a large corridor but allow us to incorporate a utility:


Now that it is one big space it is much easier to look at its whole potential. There is actually enough space in there to incorporate a new set of stairs, remodelled in a fashion that opens up into the new bedroom above. There is also an additional external access point here so you could, potentially make this into its own self contained flat? This isn't something we need right now of course, but could happen in the future, which is interesting...

Here's a short walk-through taking in the new openings
 and how it links through now from the main house:


Friday, 28 August 2015

Remodelling the bedroom

After spending a lot of time scribbling layouts on bits paper; it wasn't until a few of the new additions to the rooms (electrics etc) had started to go in that we got a sense of what the spaces were going to look and feel like. The one room that has had the most changes has been the master bedroom. As we are at a stage with the house where we can make major disruptive changes and look at future-proofing it for other eventualities, we spent a lot of time talking about how the room worked with the rest of the house. Because this is going to be our our 'sanctuary space' from all things work and business, we decided to put a few more things in place to allow it to have that feel. 

We have borrowed a bit more space from the main corridor to enable a new lobby like entrance in the main room, making the room feel more spacious:


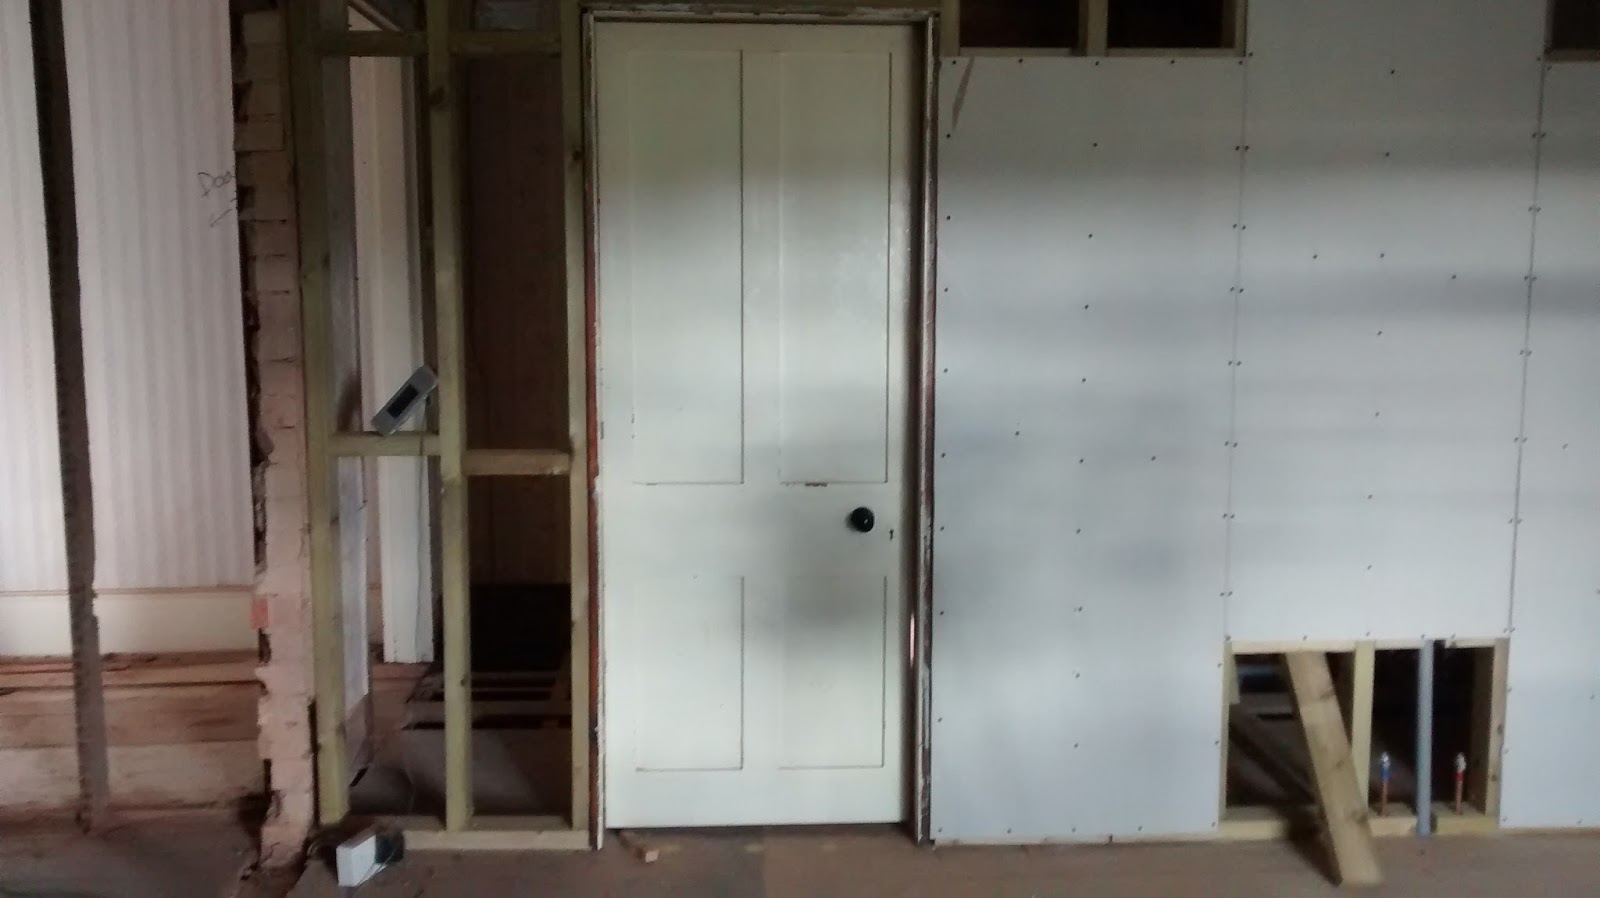
We have installed an en-suite, borrowing the doorway from the old toilet door in the bathroom: 


As the en-suite will be quite a dark space we got Jim to introduce a new window opening, that is now very in keeping with the rest of the external look of the property:


In the main quarters of the room, we have established two new openings:


On the left is an opening to a walk in wardrobe and the right is the new lobby into the room:


That's most of the major work done in this room now, some plastering to do then it's all ready for second fix plumbing and electrics

Wednesday, 18 February 2015

Operation Remodel (+ starting on the bathroom)

After living in the house a few weeks, it has become obvious what needs to move and change. With the previous owners not using half the house for so many years, there's a lot of it that doesn't make sense. It's time to get the house back into a state of connection, so Mike has been at the drawing board remodelling the house layout:


The major decision to come from this is to reconfigure the bathroom. Currently, it sits as a 6 bedroom house with only one awkward bathroom that's accessed by two doors - one to the toilet and the second to the bath and sink - this doesn't make sense for a house of this size! So, we have decided to eliminate one of the bedrooms and knock this through to the existing bathroom, creating one large and luxurious bathroom which will house an airing cupboard; allow space for a free standing bath, separate walk in shower, toilet and a sink. 

There is a lovely large window from one side and two smaller ones opposite letting in plenty of light to the room. 

We were amazed to discover this fireplace: 


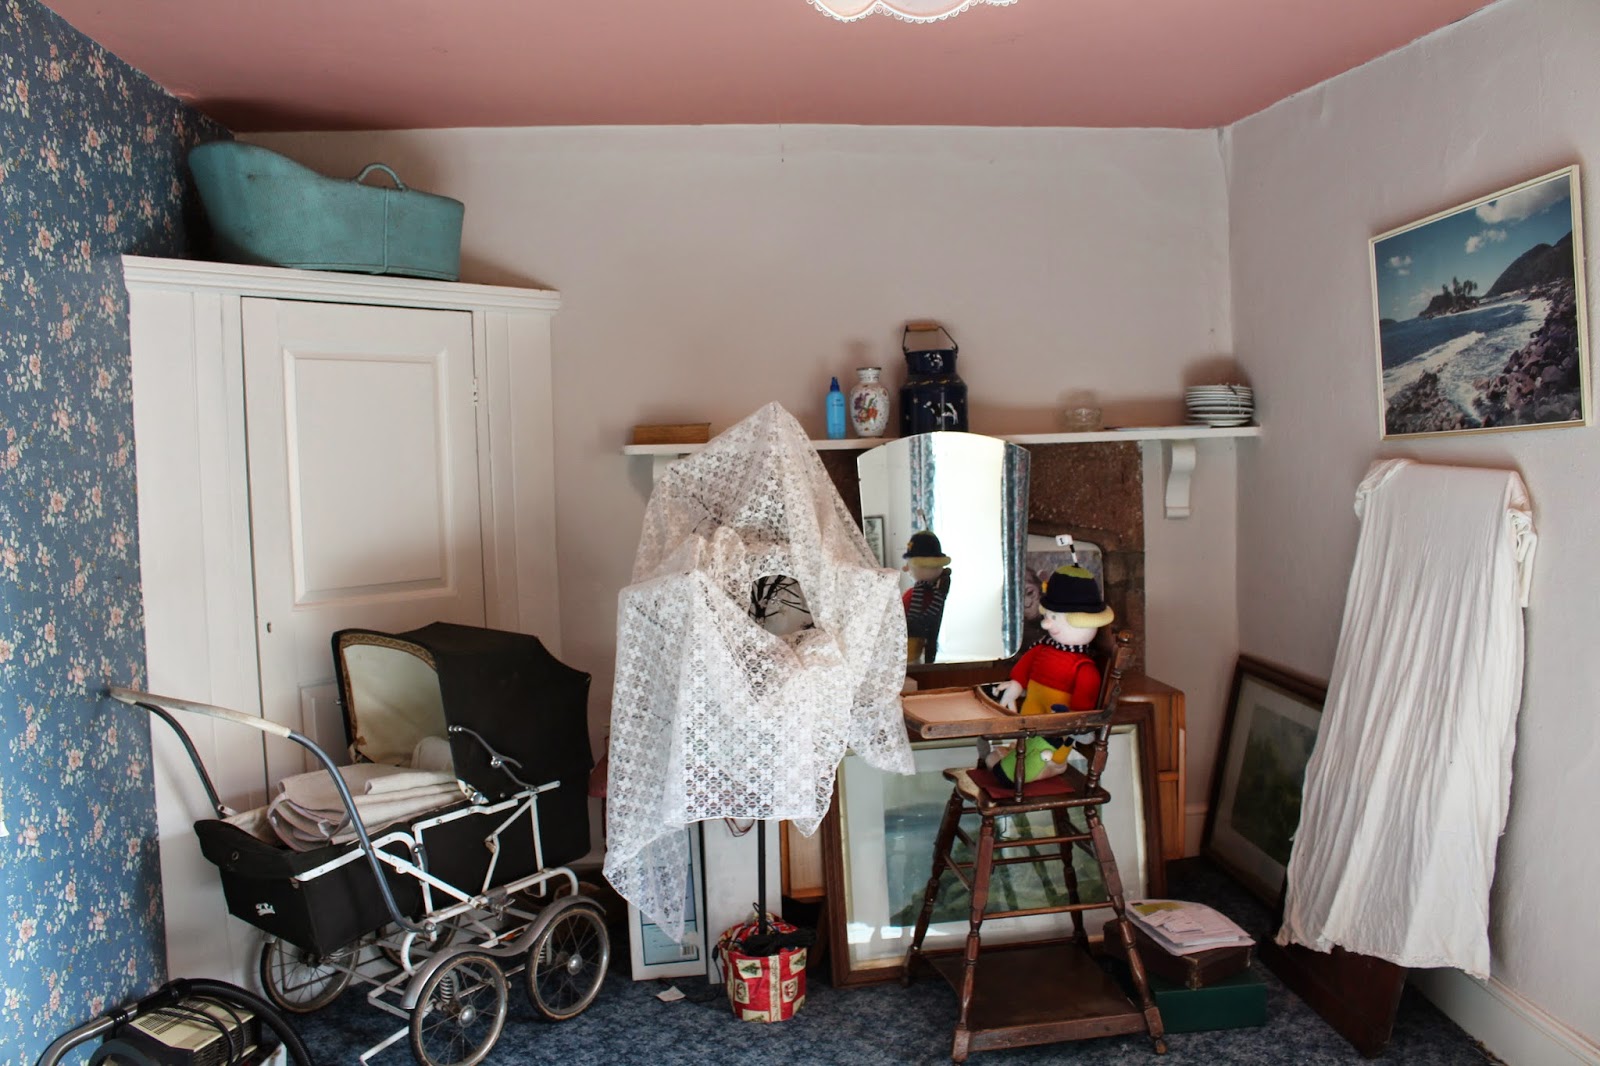
Which was hidden behind all this when we came to view it:


So it will be great to make a feature of that, once we get the room in order....

First job then - carpets up! 


Then it's down with the ceiling:


which exposed fantastic beam:


Up with the new ceiling joists:


And batton up the walls ready for insulation:


We have since discovered however that this is the wrong type of insulation for the house :( As it is built of stone, rather than brick, it needs a more breathable form of insulation. So, after some research, we have decided to go with UdiRECO wood fiber insulation which is both eco friendly and more effective for stone buildings with uneven surfaces - perfect!

Sadly though, we have now had to halt the work on this room. We are wanting to install a biomass boiler, PV panels and Solar Thermal panels to the property. Because of this, we need to have an EPC taken of the house as it currently stands, before all of our planned insulation works. So it's watch this space for updates on this room....