Tuesday, 20 October 2015

Prepping for Winter

Before the weather starts to turn, we thought it a good time to get the water pipes insulated. Connected to the caravan, these were above ground and we really didn't want them freezing over during the winter months. We had previously put them under tile to stop us tripping over them, so up turned the tiles and attached some pipe lagging:


Following the pipes all the way back to the laundry, this felt good for the soul knowing we were helping our future cold selves:


We then arranged for a delivery of hay from our neighbour,
which as you can see Piper seems to approve of:


Mike had read somewhere that it was a good way of insulating the caravan - so as to stop the wind from blowing underneath. We had started to feel it chill down in the evenings, and didn't really want to switch the gas on for heating 'just yet'. So, we lined the bails around the outside of the van:


And after installing a cat flap in some ply board (in the place of one of the windows):


There was a perfect ledge from the new lining that acted as a step in and out of the van:


We were lucky to get this all done before the first frost:


The water is now drawing very cold in the morning - but the chill at night has had the edge taken off. I think we will try it a little longer by braving it with just a few layers of additional clothing, but I'm sure will be trying out that heating out before too long!

Friday, 2 October 2015

Trenching and Drainage

Whilst the weather is on our side, we got on to the pressing task of tackling the problems with drainage around the house. There is a large mixed bush sitting on the south western corner of the front of the house. It has grown over in recent years and blocked the drainage channel to the rear:


 So we cleared that out to see what we were working with:


There is inadequate run off from the guttering into this drain, along with some cement rendering on the outer face of the chimney in the living room. This has resulted in a severe pooling of water around the perimeter of the property and has effected the walls inside the house (they are damp and bleeding salt). So, we had the cement render taken off the chimney, adding in some ventilation for the stack:


A channel was chopped in around the perimeter of the house, which we then back filled with gravel to act as a french drain:


This worked well on the front of the property:


Unfortunately though, due to the height of the groundwater on the older part (the dairy) it was ineffective. We put an aco drain in its place however and this now seems to have done the job:


Next it was the task of fixing our 'down pipe that goes to nowhere' situation, on the outer corner of the old dining room:


The downpipe had been installed but there was no drain for it to run into and it had been like that for, well, ever... this seemed strange and was something we hadn't even noticed until there was some heavy rain. On closer inspection, of the walls internally, it became evident of the effects this had had here too - big cracks, damp wall:


So, Steve bought the digger round and established a new trench over to the lake:


We hit groundwater after a short while but placed a pipe on top then backfilled with gravel:


This was put to the test under a strong downpour and was very successful in draining into the lake. So test complete, we back filled the pathway:


built the wall back up:


and laid some cold tarmac down over the surface:


Whilst the digger was on site we got Steve to run another trench,
ready for the outlet from the en-suite of the master bedroom:


It made sense to get all this done together, even though it looks a bit like Armageddon in the garden now! At least all the water is getting away from the property now though - and fingers crossed by the time winter comes we will be nice and dry internally... or at least lets hope so!?

Friday, 18 September 2015

Tiles On + the rear porch and courtyard

Now that the new roof structure is in place it has been time to get cleaning all those old tiles...


As the old utility roof was dressed in pan tiles though, and we were planning to marry the new roof up with the others (all dressed in triple roman tiles), we were missing quite a few. So, after making some calculations, we decided that it would be cheaper to lift some from the roof of the barns (during their development they are going to require pan tiles and not triple roman) and use these rather than source some from a reclamation yard. It also feels quite nice being able to borrow from one bit of the site and feed another.

It was good to get a different perspective of the barns this way too:


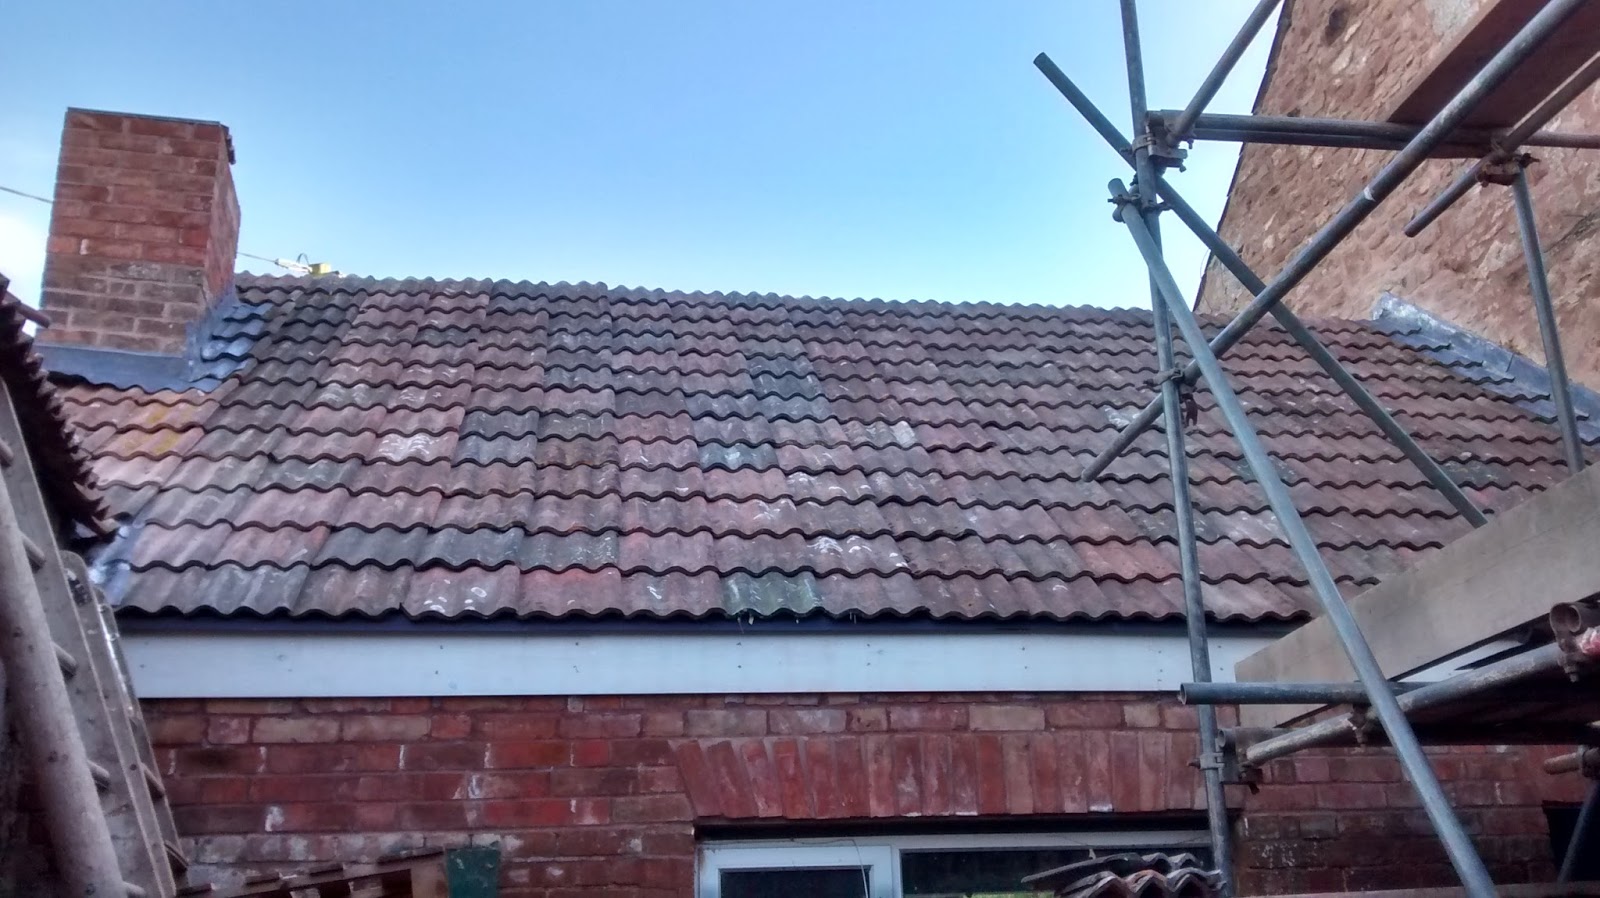
These were then all cleaned and put into place:


and once all up - they look great!


Next it was painting the fascia boards - we're really enjoying the teal-y/grey that we've found:


The back door of the new kitchen and the porch area have been left as a bit of a 'who's responsibility is this?' sort of job for a while now:


As it's been the meeting point of both building teams and their respective roof lines it's been a little tricky to work out who should claim it... Steve won the coin toss though - and so began work on fitting it all together:

We started by taking the oil tank out:


Then the old backdoor frame was readjusted for it's new home:


I think Mike approves (or he's just getting fed up with my camera...?)


And after the wall of the plant room had been repointed
- the courtyard is now looking pretty neat and tidy:

Friday, 11 September 2015

On with a NEW ROOF!

Now that the walls have gone up it's time for the new roof of the kitchen...

Steph has been using the space in the barns to chip away at the new timbers:


It's great to see the space being used and to experience the trusses up close - 
some very fine craftsmanship indeed:


With the help of the genie lift the end gable goes up:


And we can start getting a sense of the whole space now:


The trusses go up and WOW!


Mike is looking pretty impressed!


The gable gets filled in from the back and the chimney built up to meet the ridge:


Then the battons go in:


The felt goes on:


The space blanket over the window voids:


With the windows cut in when they arrive:


And although we would like to have the scaffolding down by now - it has been good to get another shot from above:


Here's a quick walk through from the dining space into the new kitchen:


Tuesday, 8 September 2015

Out with the old and in with the new (again!)

Patrick's guys have been hard at it this past month, sorting out the new roof in the oldest part of the house. In between intermittent showers and down pours, a new set of scaffolding has gone up:


Which means more exploring of the house from new angles!


Note the triangular piece of rubber to right of Mike above... instead of flashing this is the matting used for sleeping cows! It's not done the roof too much harm these past 30 odd years, but it's not done it that much good either!?
So, off with the matting and surrounding tiles:


And on with the new lead, window, valley and surround:


The front part of the roof comes off:


Before felt, batton and a new window opening go on:


It's going to make a great bathroom inside...once insulated and plastered of course:


A last look before all the old timbers come out:


And here's a view of the shiny new ones - oooh!


Whilst taking the roof off and addressing the old plaster work, we found that a window that had been put in previously hadn't been properly fitted. Here it is from the outside:


And inside - it spanned over two floors - strange! 
So, we got the hole filled in and made an opening to match the other:


They now look they were always meant to be:


A few more tiles to go on...


Then that's the roof done!